You would struggle to find someone who has not heard of CCTV before. It is one of the most common and widely-used security systems around the globe.
If you are looking at installing a CCTV system for your business it is always good to understand the ins and out of your new security set-up.
With this in mind, we have created this brief guide to give you a crash course on Closed-Circuit Television (CCTV).
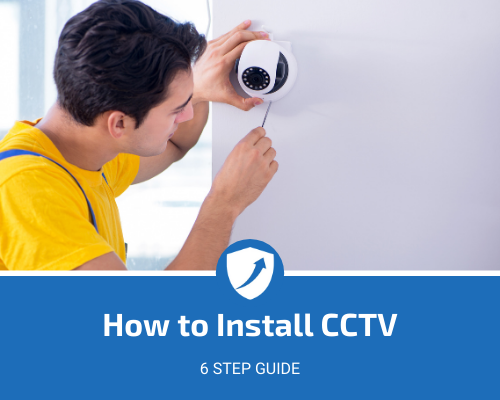
From a quick introduction to the system to components you will need, to how to actually install your CCTV for your business, we will cover it all in this article.
- CCTV Basics
- Things You Will Need to Set up CCTV
- Installing CCTV Steps
- Summary
What You Need to Know About CCTV
In this section, we will be running through the basics of CCTV and giving you a base understanding of how a system works and some of the benefits of using it. So without further ado, let’s get started.

What is CCTV?
CCTV is short for Closed-Circuit Television, and is commonly a network of cameras and recording devices all linked on one system. If a camera broadcasts a signal it can be linked to a CCTV system.
Frequently referred to as CCTV, people also know the systems as video surveillance, depending on where you are from. Cameras can be either wired or wireless, depending on your set-up.
Although CCTV can have a range of uses, the primary function is to provide security, continuous remote monitoring or surveillance to an area, business, or home.
In recent years we have seen a large uptick in private CCTV systems at private residences and properties. There are a number of reasons for this which we will cover broadly in our next section.
Benefits of CCTV
As with anything in the security realm, everyone will have their own reasons for setting up a system, but the overarching factor is to provide visibility to an area.
Deterrent – installing CCTV at your premises will instantly provide additional security in the form of a burglar deterrent. Criminals do not want to get caught so will often look for easy targets and seeing a CCTV camera automatically increases the risk for them.
Increased Visibility – with CCTV at your premises you will be able to have additional sightlines to see what is happening and provide extra protection for certain high-risk areas, such as stock rooms, tills, safes, and more.
Lowers Internal Threats – creating a safe workspace for everyone is important, as is protecting your business inside and out.
Having a CCTV system in place will reduce the likelihood of internal threats, such as workers stealing or tipping off criminals.
Have Evidence – being able to provide proof of a situation or security threat is important in a private or public setting.
Your system will pay dividends in the event of a crime or breach as you will have evidence to help build a case and find any weaknesses in your security.
Keep Watch – if everyone knows you have CCTV within your workplace you can give your staff and visitors additional peace of mind and know what is going on at all times. This can be important in an emergency, a security breach, or even just everyday life.
Stay on Track – you will be able to see operational benefits too, by knowing when people are coming and going, you can make decisions on the overall operations. Having a CCTV system in place can help you ensure the business is running smoothly.
Pre-Installation Checklist
Before diving into the installation, it’s crucial to prepare and ensure you have everything in place. Here’s a checklist to get you started:
| Checklist Item | Description |
|---|---|
| Site Survey | Assess the property to determine camera placement and coverage areas. |
| Equipment Purchase | Obtain all necessary CCTV components, including cameras, DVR, cables, and power supply units. |
| Legal Compliance | Understand and comply with local CCTV laws regarding surveillance and privacy. |
| Data Storage | Ensure adequate storage capacity for your DVR or NVR system. |
| Network Setup | If using IP cameras, prepare your network for integration. |
Planning Your CCTV Installation
Effective planning is the blueprint for a successful CCTV installation.
Here’s how to plan:
- Objective Setting: Define what you want to monitor and achieve with your CCTV system.
- Camera Placement: Identify critical areas for surveillance and optimal camera positions.
- Cabling Routes: Plan the path for cables to run from cameras to DVR, minimizing exposure and interference.
- Power Sources: Ensure each camera location has access to power or plan for PoE (Power over Ethernet) if using IP cameras.
Supplies You’ll Need for Installing CCTV
The supplies you need to install CCTV systems vary a little depending on your set-up, budget, and business size, but the base concept is the same across the board.
Here are the key components you need when installing your CCTV system:
Cameras – the most important part of your system, without these you cannot capture any images or video. You will need ‘x’ amount of cameras depending on your set-up and business size, this will be part of your planning and budgeting stage.
DVR – a digital video recorder does exactly what it says on the tin, it captures and stores your surveillance footage. Most DVRs have the space for years’ worth of recordings and can have additional features such as motion detection and push notifications.
Cables and Connectors – these are how you are going to link all of your parts together to get a cohesive system. The CCTV system you buy should encompass the parts you need, or at least outline what you require.
Ladder – as we all know, CCTV is usually at a vantage point, on a ceiling, or a high corner of a wall, so unless you play professional basketball, get a ladder handy.
In one of our previous posts we looked at the two core types of CCTV systems, Dome Cameras and Bullet Cameras, so if you are wondering which would be best for you, wonder no more.
What tools do you need?
When installing a CCTV system, it is important to have the necessary tools and supplies to ensure that the job is done properly. The tools you need will vary depending on your setup, but some of the most common items you will require are:
- Pliers
- Drill
- A hammer
- Screwdrivers
- Wire strippers
- Ladder.
Pliers can be used for cutting and stripping wires while drills and hammers can help with mounting cameras and other devices. Screwdrivers are essential for tightening screws or fastening connectors. Wire strippers allow for quick and easy removal of insulation from cables to expose the internal wiring.
Finally, having a ladder at hand is helpful when installing cameras in high locations or when connecting cables in hard-to-reach areas.
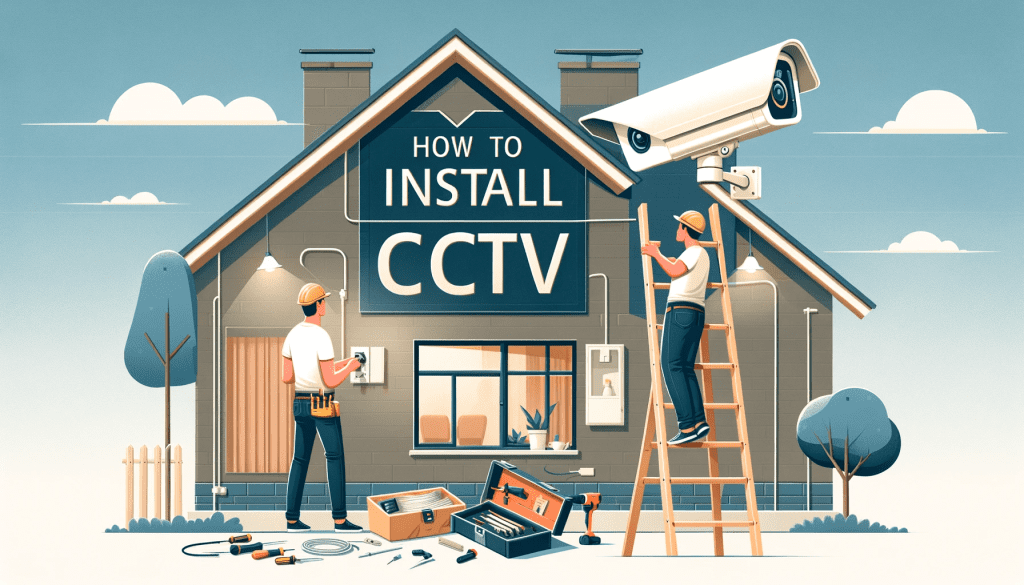
How to Install CCTV (6 Steps)
Installing a CCTV system will be different for every business, and for some, it may be a lot easier than others.
Following these steps should give you a good idea of how to install CCTV for your company and get you on the way to being safer and more secure.
Step 1 – Define Your Objectives
This is an important first step and a great part of your CCTV planning stage. Think about what you are trying to achieve and what you want these cameras to do. Are you trying to secure an area? Cover the entrance? Monitor a business? Or eliminate blind spots?
These are all questions you want to ask yourself and know the answers to. This will help you not only set your CCTV up correctly but help you have a clear goal at the end of it.
Step 2 – Choose Locations and Heights
Once you have a good idea of why you are setting up your cameras, you can start choosing the locations and areas you want to cover with your CCTV.
Ensuring you pick an area that is not only visible but actually viable too will be an important decision when setting up.
Some businesses will want to conceal their cameras, but the majority will use them as a form of a deterrent so will want them visible. Keep this in mind when you are choosing your spots.
Step 3 – Set-Up The Cameras
Now you have chosen the places you intend to put up your cameras you can go about getting them set-up
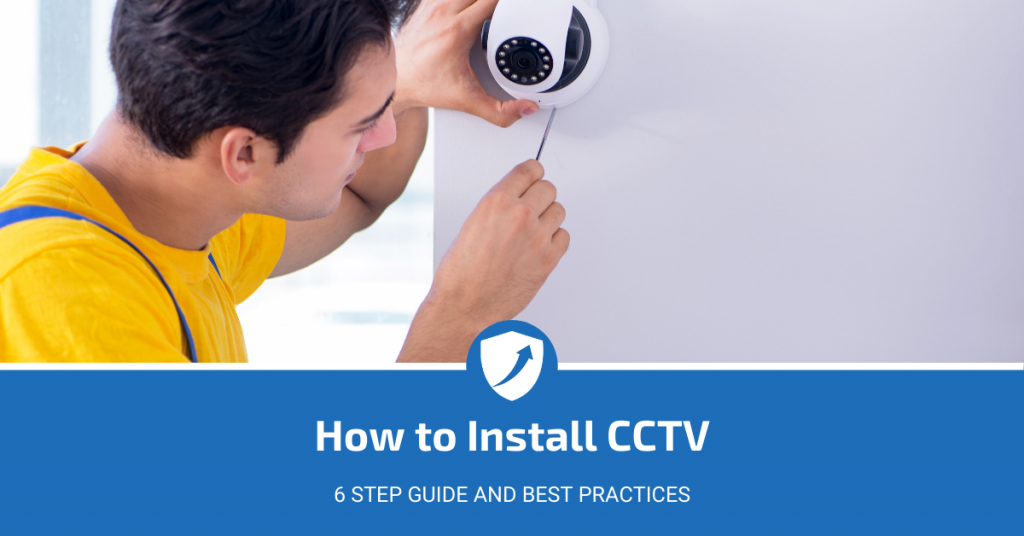
A lot of CCTV cameras will come with a bracket or some kind of mount that you will need to install first, which will give it a base to stand on or hang from. This depends on your camera type but typically is the usual housing.
After that, you can put your camera onto your mount and face them in the right direction and angle. Don’t worry this can be adjusted later, but aim to get the rough area correct.
Step 4 – Install the DVR
The DVR or Digital Video Recorder is a key part of your CCTV system that allows you to record the video you are capturing.
In films, you will see this as part of the control room and in older systems on a tape that is often taken or wiped to cover a crime or escape.
Installing this properly is important as this is where the video is often saved, so if it is done incorrectly you will not have any recordings.
Step 5 – Check the Cables and Wires
Ensuring you have planned an easy and efficient pathway from your cameras to your DVR unit is imperative. You want to check and double-check all of your wires are not exposed and at risk of being compromised.
Checking you have connected your cameras to your DVR and monitor will help you avoid any basic mistakes and having to troubleshoot when attempting to turn the system on.
Note: If you have a POE CCTV system we have an article on that type of CCTV.
Step 6 – Turn on Your System
Now you have got everything else set-up you can power on your system. Start with your cameras, then the display, and finally the DVR.
If you have multiple cameras on your system you want to check each feed individually to ensure they are working correctly and are providing clear images of the right area.
You can always micro-adjust the angles and positioning once it is all set-up. And that should be it, you are set and ready to monitor your business with your new CCTV system.
Finding a CCTV Expert
The above steps can be followed by anyone but that does not exclusively mean you have to.
Depending on your situation, budget, and expertise you may want to consider finding a security or CCTV expert to help you with the set-up.
No two businesses’ needs are the same and each system will be unique so sourcing an expert who can help you maximise your results and security is never a bad idea.
The key here is to understand what your requirements are before consulting and making sure you are clued up on the cost of CCTV installation.
How to Connect CCTV Cables
Connecting CCTV cables is a critical step in setting up your surveillance system. This section will guide you through the detailed process of selecting, running, and connecting the right cables for your CCTV cameras to ensure a stable and secure video feed.
Understanding CCTV Cable Types
Before you begin, it’s important to understand the different types of cables used in CCTV installations and their specific applications:
- Coaxial Cable (RG59): This is the most common type of cable used for analog CCTV systems. It’s durable and can transmit video signals over long distances without significant loss of quality.
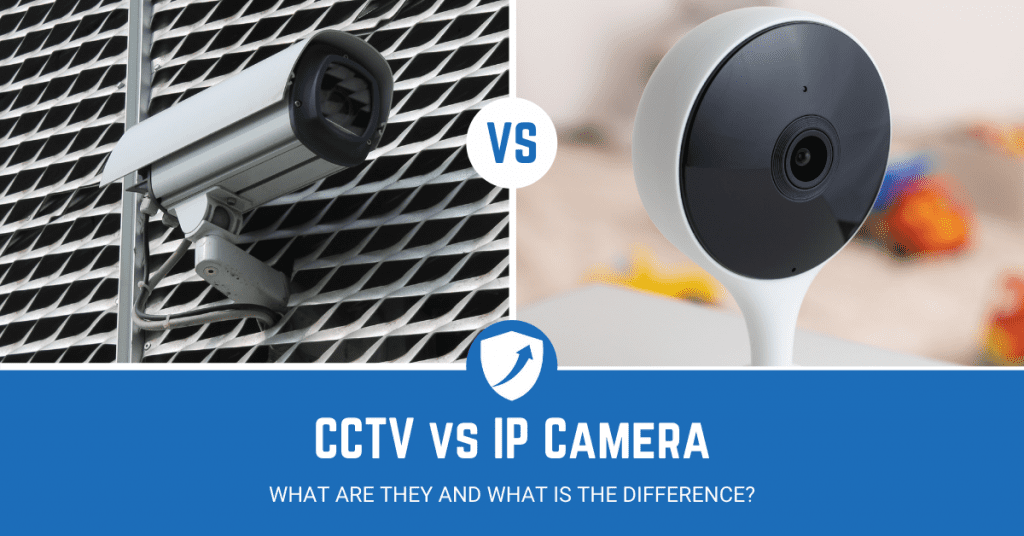
- Ethernet Cable (Cat5e/Cat6): These cables are used for IP camera installations. They can carry video, audio, and power over a single line with PoE (Power over Ethernet) capability.
- Siamese Cable: A combination of coaxial cable and power wire, Siamese cables allow for both video and power to be run together, which simplifies the installation process for analog systems.
Selecting the Right Cable
Choose a cable that matches your system’s requirements:
| System Type | Recommended Cable | Why |
|---|---|---|
| Analog | Coaxial (RG59) or Siamese | Reliable over long distances; Siamese includes power. |
| Digital/IP | Ethernet (Cat5e/Cat6) | Supports higher data speeds and PoE. |
Running the Cables
Running cables requires careful planning to avoid potential damage and interference:
- Map Your Route: Identify the most direct path from each camera to the DVR while avoiding electrical cables to minimize interference.
- Concealment: Use conduits or cable management systems to protect and conceal the wiring.
- Secure the Cables: Use cable clips or ties to secure the cables along the route, ensuring they are taut but not overly stretched.
Connecting the Cables to Cameras and DVR
When connecting the cables to your cameras and DVR, follow these steps:
- For Coaxial/Siamese Cables:
- Strip the cable ends using a coaxial cable stripper.
- Attach BNC connectors to the stripped ends of the coaxial cable.
- Connect the BNC connectors to the camera and DVR ports.
- If using Siamese cable, connect the power wires to the camera and power supply.
- For Ethernet Cables:
- Ensure the cables are terminated with RJ45 connectors.
- Plug the Ethernet cable directly into the camera and the PoE switch or NVR.
Testing the Connections
After all connections are made, it’s crucial to test each camera:
- Power On: Turn on the DVR/NVR and cameras.
- Check the Feed: Verify that each camera’s feed appears on the DVR/NVR and is clear without interference.
- Adjust the Cameras: Make any necessary adjustments to the camera angles for optimal coverage.
Installing CCTV Summary
Hopefully, now you have a better idea of how to install your CCTV system and be well on your way to improving your security and creating a safer environment for you, your patrons, and your staff.
Needless to say, each CCTV system varies but the key information is the same and their benefits are fairly universal across the board.
Regardless of what system you choose you will be setting yourself and your business up for a much more secure and safe working environment. CCTV systems are great to pair with other security solutions from web access control to proximity lights, to traditional security personnel.


