CCTV is a surefire way to improve your security and helps to monitor your home at any time of day or night.
Although they have come a vast way from their inception, their base concept is still the same, providing surveillance.
Finding a simple and effective solution to your home security allows you to have peace of mind, which leads you to excel in other areas of your company.
CCTV cameras act as a perfect solution for a wide array of premises, so let’s look at how to set it up.
In this brief article, we are going to be looking at how to connect your CCTV to a TV monitor. This can be done in two major ways, we will also look at the supplies you will need, and some benefits of utilising your TV.
- CCTV to TV Overview
- Things You Will Need to Set Up CCTV to Your TV
- How to Set Up CCTV to Your TV
- CCTV to TV Summary
What You Need to Know About CCTV on TVs
CCTV to TV Basics
You have probably seen a lot of films where security rooms have lots of monitors, and a ton of camera feeds, this often is not the case in the real world. Security is often done from a smaller room, and typically for most premises, on one monitor.
This makes it much easier to manage, and explain how to set it up too. The short version is that it does not need a security expert to set up a good amount of CCTV cameras, but it entirely depends on the CCTV camera types you invest in.
It is likely you are not looking for a 5-level security system that even James Bond would struggle to get into, but just a way of securing your premises without breaking the bank. Enter CCTV via TV, an everyday solution for any sized company.
Note: If you are curious about how to connect CCTV to phone, our previous blog is for you.
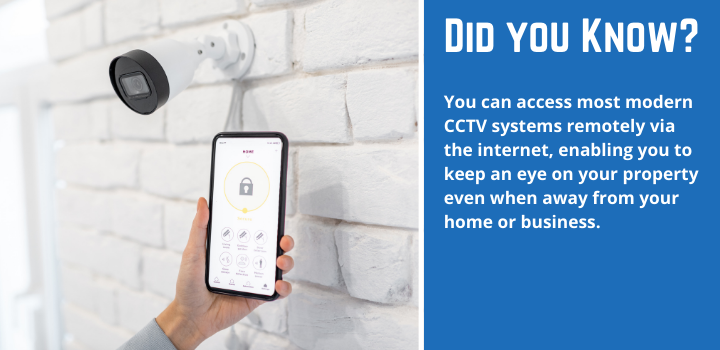
Benefits of Using Your TV for CCTV
Here we are going to look at just a handful of examples of benefits when using a TV for your CCTV security, we have covered some broad ones so they appeal to most, if not all, companies.
Clear Visibility – Due to their larger size, than CCTV monitors, for instance, you have a large field of view when watching the playback, this may allow you to spot things you might miss on a smaller screen.
Simplicity – Having a TV as your CCTV setup is a simple and effective solution. Most of us have had to buy a TV at one point or another, so we know what to look for and a good idea of pricing.
Freedom of Placement – As we all know, TVs can be set up on mounts, walls, stands, and freestanding, this gives you a lot of flexibility when preparing your security area/room.
Multi-Use – The good thing about using a TV is that it can be used for other things too. The other side of this is that you can have multiple camera feeds due to the size of the monitors.
Low Cost – As TVs are widely available and easy to purchase, you will not struggle to find a good priced television to use. You may even already have one you can utilise.
Supplies You’ll Need for Connecting CCTV to TV
CCTV Cameras – We will go into the two types (wired vs wireless) in the next section, but you will need one or the other to connect to your television monitor.
TV Monitor – Needless to say, you will need this to connect your cameras too. The required ports differ from model to model, so always check which you need for your cameras.
DVR / NVR – As a rule of thumb your CCTV system will likely use either a DVR or NVR, so ensuring you have either of these ready to be connected to your TV is important.
HDMI or Connection Lead – Making sure you have the means to connect your two parts (CCTV and TV) together is vital. This will often be a Coax cable, HDMI lead, or similar components.
How to Connect CCTV to TV (2 Methods)
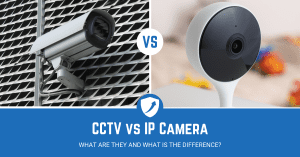
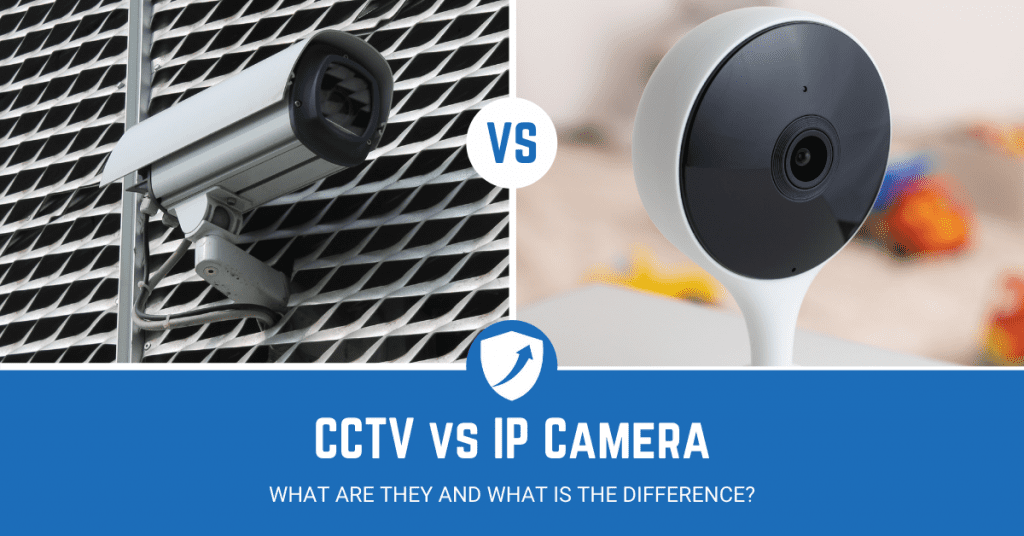
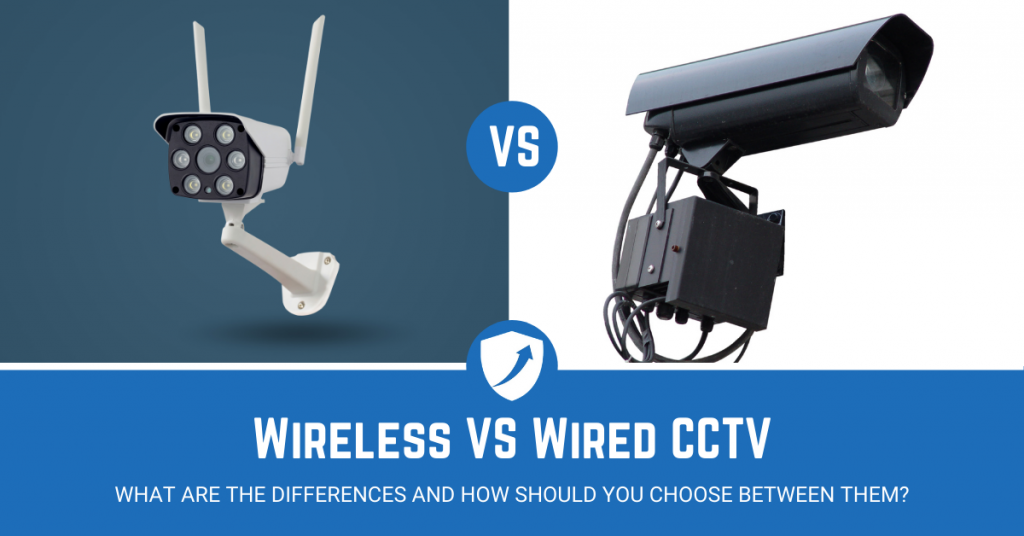
When connecting to a TV you will typically fall into one of these two categories, wired or wireless. Wired cameras are often referred to broadly as Analogue, and wireless often falls under IP CCTV cameras.
There are some fairly large differences between these two set-ups, so if you are interested in learning more about the nuances between Analogue CCTV and IP CCTV, check out our previous article.
Connect CCTV to TV With Wires – Method 1
Depending on your cameras this could be 1 or 2 wires. Some cameras use a POE (Power over Ethernet) cable that provides both power and data transfer. Either way, you will need to connect the wires to the right places to get your video ready.
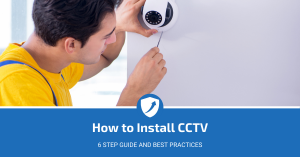
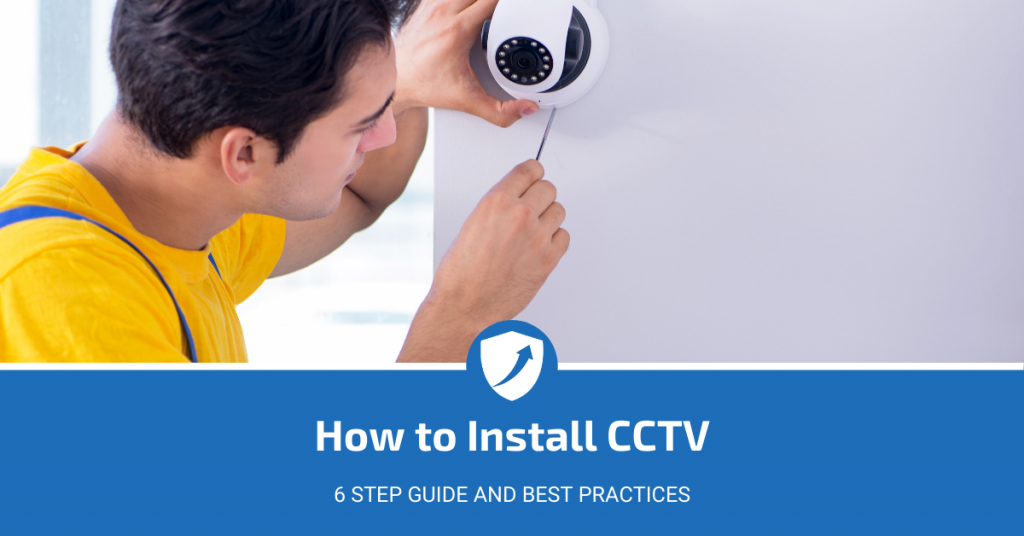
Step 1: Get Your Cameras Set-Up – when your cameras are mounted and in the places you want them then you can move onto the next step. If a small system it can often be done DIY, for more complex applications we’d recommend consulting an installer. Not before reading up on the cost of CCTV installation first to avoid getting overcharged.
Step 2: Connect the Cameras to the DVR – a Digital Video Recorder (DVR) does exactly what it says on the tin, and is the middle-man between the cameras and the TV.
Step 3: Plug the DVR into the TV – this will normally be via an HDMI cable, but different models use different connectors. This will link your cameras and TV, it should be easy to find the right channel via the ‘Input’ settings.
Step 4: Ensure the Signal is Clear – checking how the camera feeds look on your TV is important, it might take someone else going out to the area to see if you can identify them from various distances.
Step 5: Make Any Adjustments to the Cameras – once everything else is done you can shift the cameras to get the best angle and coverage. You may not need to, but it’s often they need a little tweak to maximise their performance.
Connect CCTV to TV Wirelessly – Method 2
The term wireless may seem a little incorrect here, as you still have to connect the NVR or DVR to your TV, but the wireless element is between the cameras and the video recorder. Therefore, the cameras themselves are wireless, not the entire setup.
Step 1: Set-Up Your Wireless Cameras – ensure you have got your cameras ready to go, as this guide is focusing on connecting them to the TV, not the entire CCTV camera set-up.
Step 2: Connect Your Cameras to the Network – each wireless camera has its own set of instructions, but regardless of which model you use, you will need to connect it to your network.
Step 3: Plug Your NVR into your TV – typically speaking your cameras will connect to a Network Video Recorder (NVR), and this is what you will need to physically connect to your TV (often via HDMI).
Step 4: Check the Signal on the TV – once you have plugged it in, make sure you can see the images clearly on your TV, you may need to tinker around to get the right setup.
Step 5: Adjust Cameras to Ensure Best Placement – now you can see the images you will be able to see if any of the cameras need adjusting, need a wider field of view, or are incorrectly placed for the area you want to cover.
Connecting CCTV to TV Summary
Understanding how the security industry is changing moving forwards is important, but there will always be a place for surveillance regardless of where the industry shifts. Even if the means we capture video and audio change, the base concept will stay the same.
There is no doubt that the industry is evolving, but the incorporation of CCTV has been a core element in the security mix since the 70s and will continue to be shaped by technological changes.
With this being said, having a CCTV system that connects to your TV and gives your premises increased security, and lowers threats is vital to implement within your company.


